

今回は、モバイルアプリフレームワークであるFlutterを使って開発するための環境を構築していこうと思います。
Flutterは、Dartという言語で開発していきます。聞き慣れない方も多いと思いますが、TypeScriptに似た言語だと捉えてもらえるといいかと思います!
学習に使った本はこちら!
 クマじい
クマじいAmazon Kindle Unlimited でもFlutter、Dartの本はいっぱいあるぞ!
iOSとAndroid(正確にはWebなどもある)のクロスプラットフォームになってますので、iOSとAndroidのアプリの両方を作りたいと思っている方は勉強してみてもいいかもしれません!
Flutterを使えるようにしよう!
 クマじい
クマじいわしにもわかるかのう。。。
早速ですが、Flutterの開発環境を構築していきます。
今回は、Macを使っている方を対象としていますが、Windowsの方でも大きな違いはないので参考になると思います!
Flutterをダウンロードする!
まず、Flutterをインストールします。
インストール資材は、Flutterからダウンロードできます。
リンクを開くと、下のような画面になると思います。

この画面が表示されたら、右上の「Get started」を選択しましょう。

Install画面が表示されると思うので、対応するOSを選択します。
今回は、Mac用に説明していくのでmacOSを選択します。

すると、macOS用のインストール手順が表示されます。
インストール手順は、表示の通りなのですが英語でわかりにくいと思うので、説明していきます。
まずは、「Get the Flutter SDK」の手順1にある「flutter_macos_2.2.2-stable.zip」を選択してダウンロードしましょう!
ダウンロードしたらZIPを展開して、Userフォルダ配下にDeveloperフォルダを作りそこに格納します。(どこでもいいのですが、今回はここにしました。)
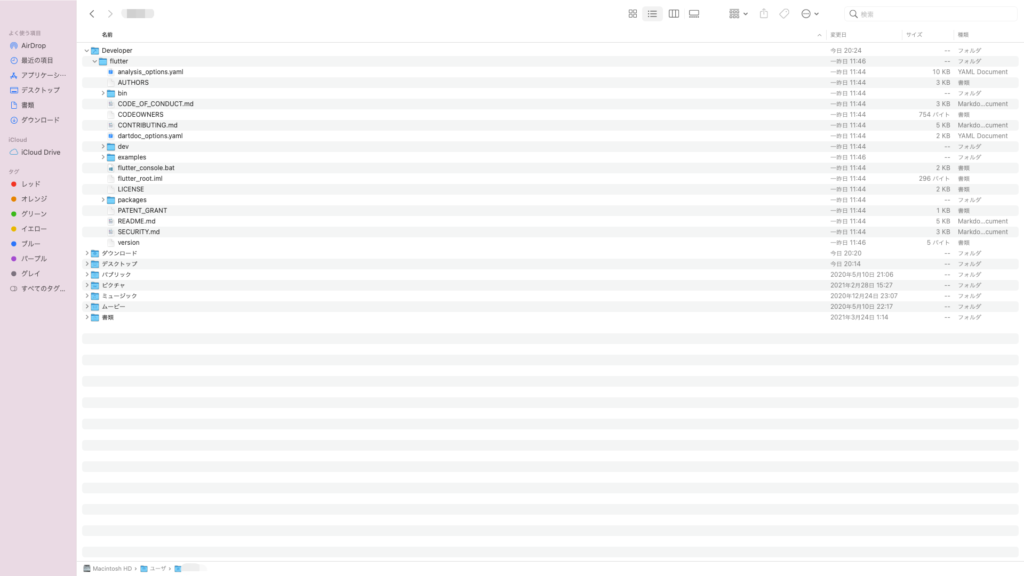
公式だと、下のようにコマンドでやるようになっています。
どちらでやっても問題ありません。
cd ~/development
unzip ~/Downloads/flutter_macos_2.2.2-stable.zip
パスを通してFlutterを使えるようにする!
Flutterをダウンロードできたので、次はパスを通して使えるようにします。
最近のMacであれば、.zshrcを編集してパスを通すことができます。
vim ~/.zshrc.zshrcを編集できる状態になったら、[i]を押してInsertモードにして下記を入力してください。
export PATH="$PATH:/User/*****/Developer/flutter/bin"入力できたら、escキーを押して、「:wq」で上書きして終了しましょう。
ターミナルを閉じて、再度ターミナルを開いてください。
echo $PATH
/usr/local/bin:/usr/bin:/bin:/usr/sbin:/sbin:/Library/Apple/usr/bin:/Library/Frameworks/Mono.framework/Versions/Current/Commands:/Users/*****/Developer/flutter/bin
Users/*****/Developer/binが表示されていればOKです!
Android をセットアップしよう!
Flutterが使えるようになったので、続いてAndroid Studioをセットアップしていきます。
公式のページだと下記の部分に当たります。

Android Studio をインストールする!
Install Android Studioから下記の画面に遷移します。
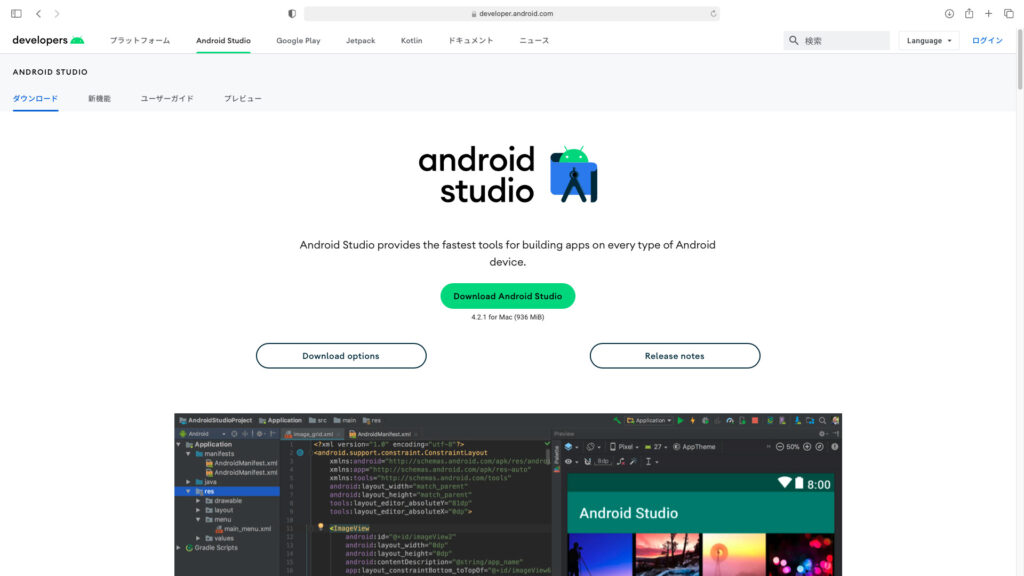
上記の「Download Android Studio」を選択しましょう!
ダウンロードしたファイルを実行すると、下記のようなダイアログが表示されると思います。
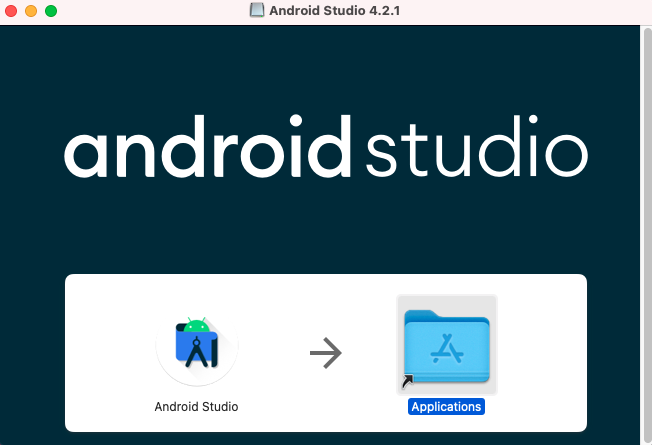
これは、Applicationsにドラック&ドロップしてあげれば大丈夫です。
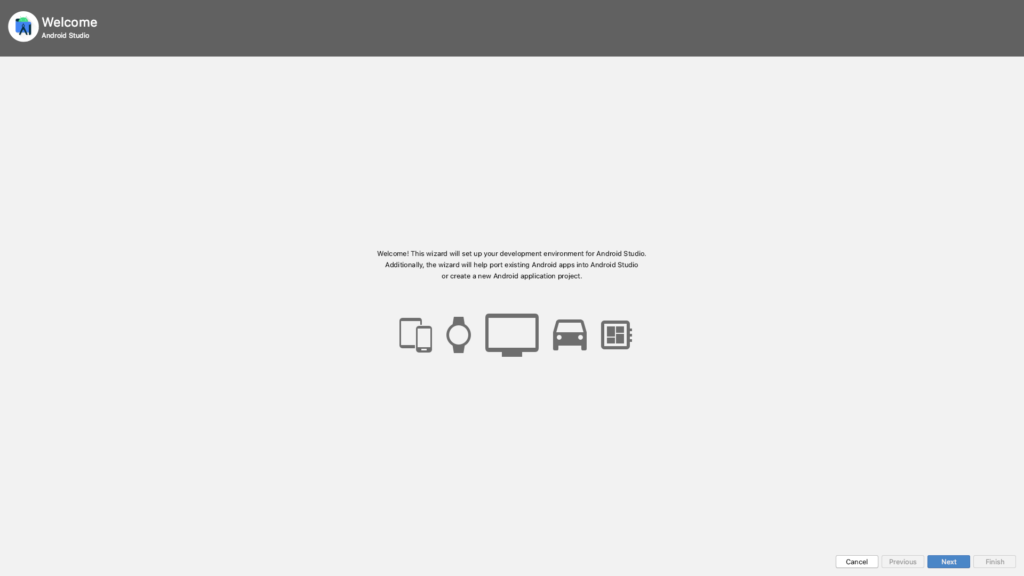
ここまでできたらAndroid StudioをApplicationsから開きましょう!
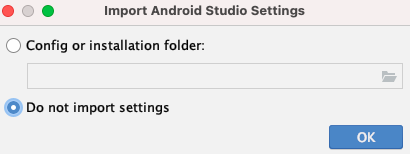
Import Android Studio Settingsは、「Do not import settings」でOKです!
あとは、説明に従ってNextを押していけば問題ありません。
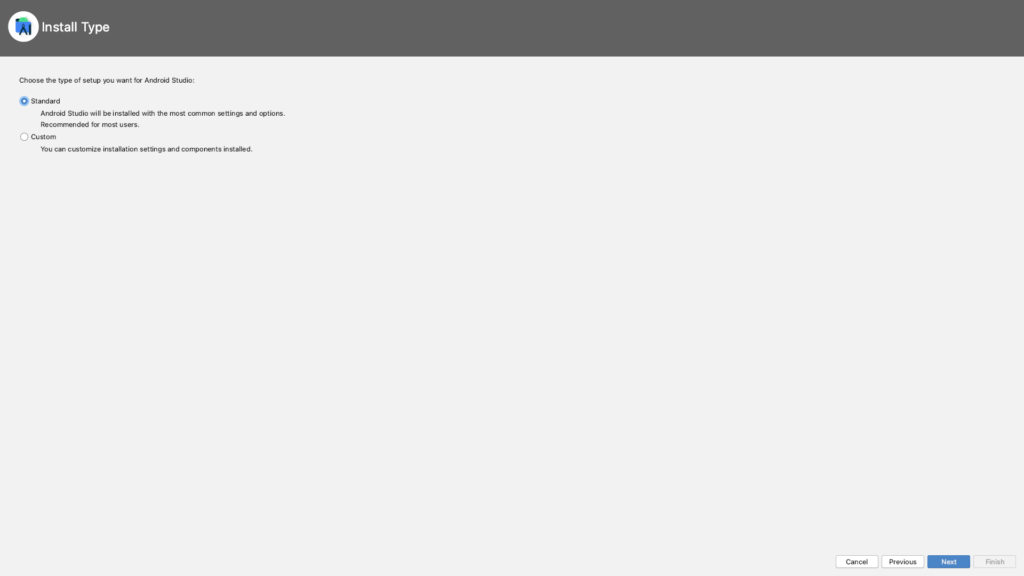
Install Typeは今回はStandardにします。
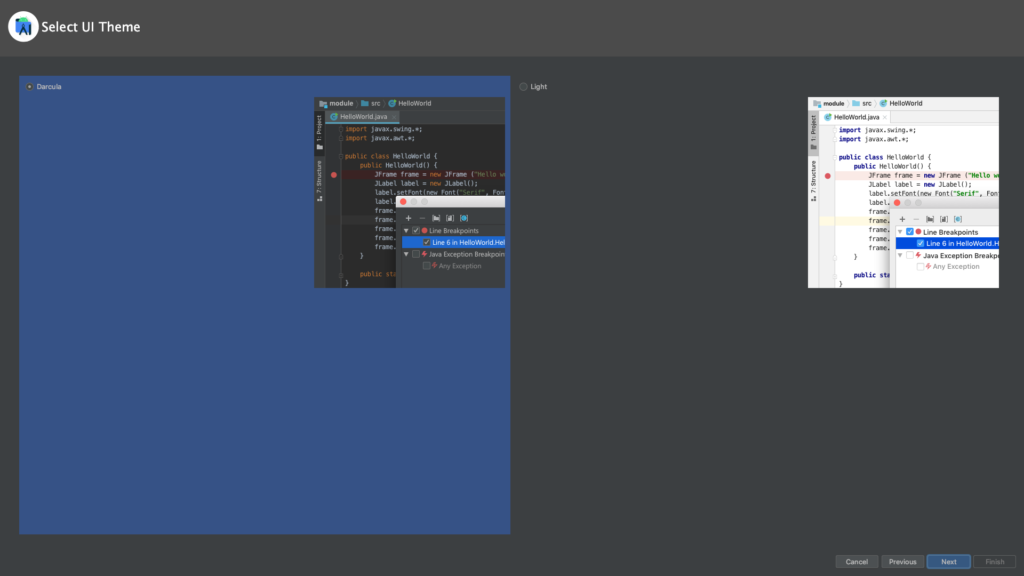
Select UI Themeは、お好きな方を選択してください。
個人的にかっこいいなと思うDarculaにします。
問題なければ、Finishをします!
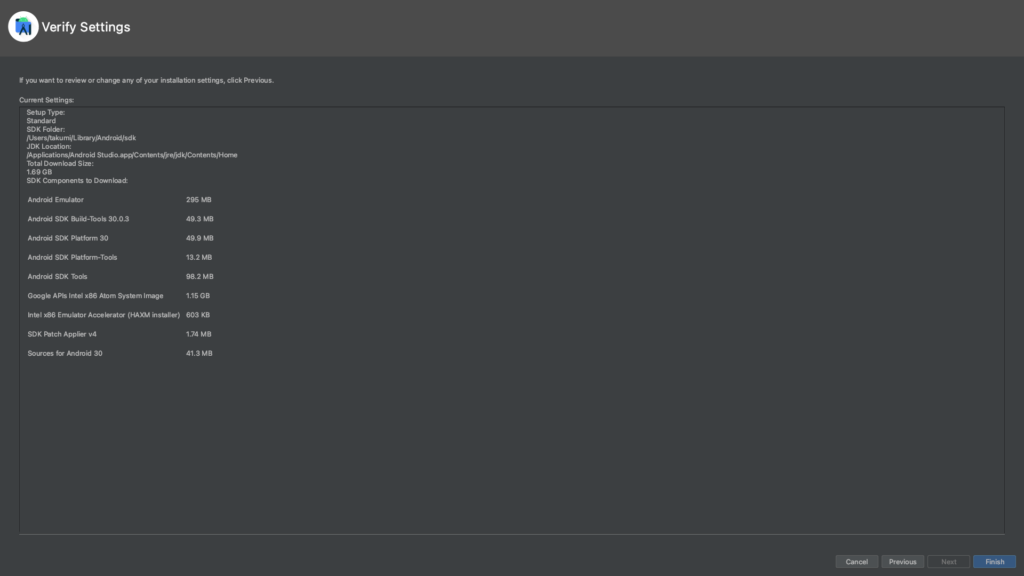
ダウンロードが終わると下のような画面が表示されます!
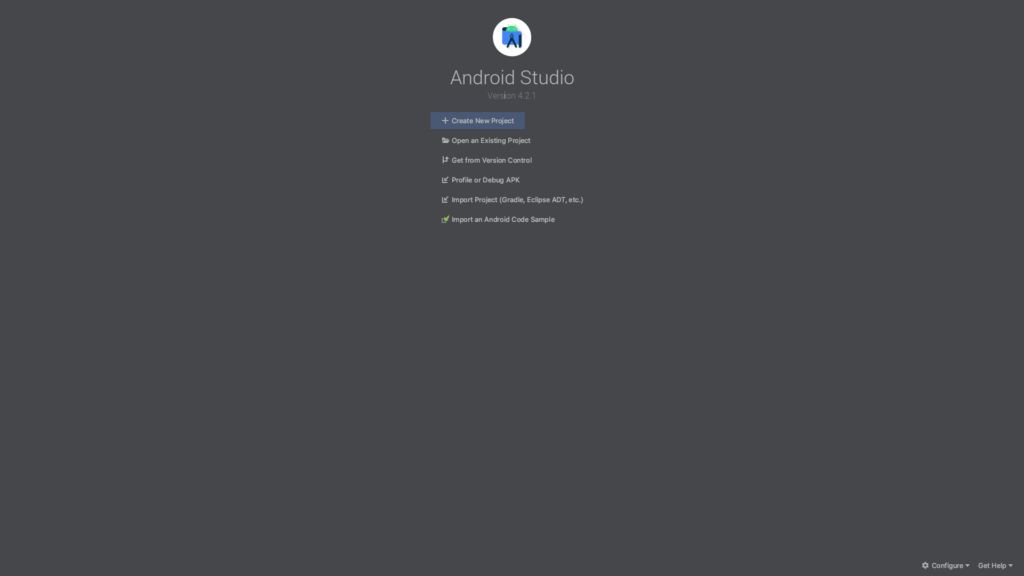
Flutterを扱えるようにする!
このままではFlutterを扱えないので、Flutterを扱えるようにしていきます。
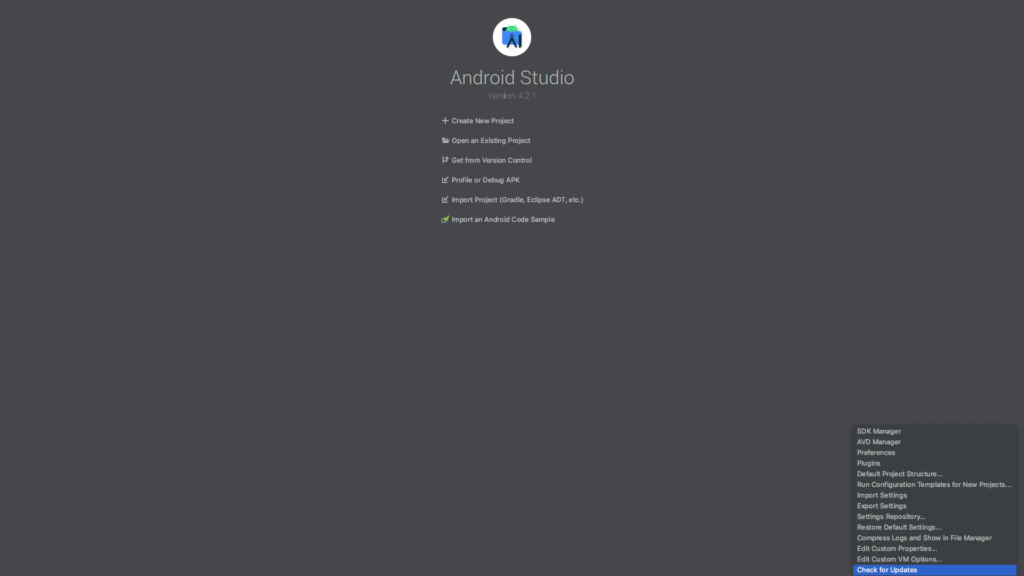
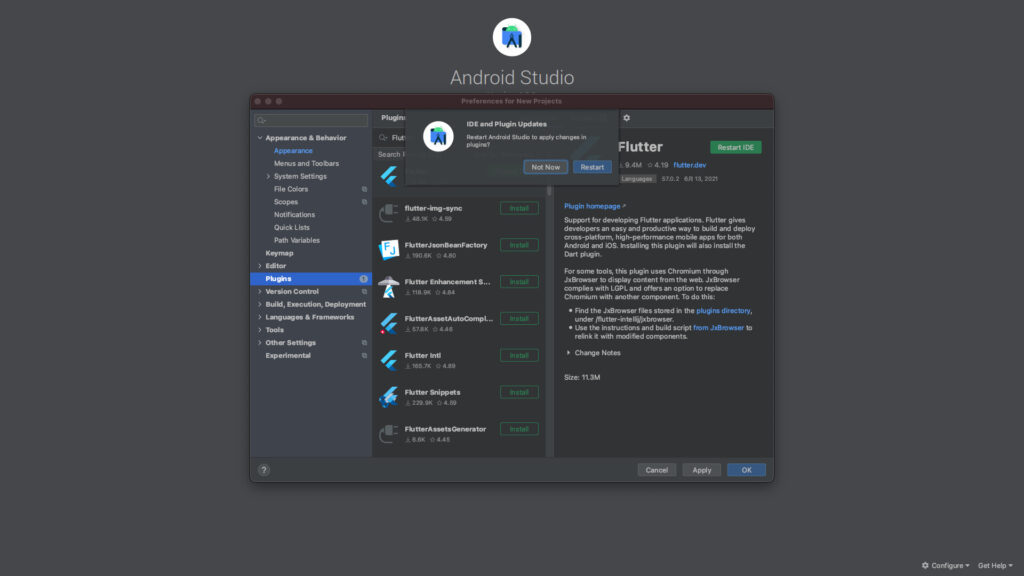
Configure>Preferencesを選択します。
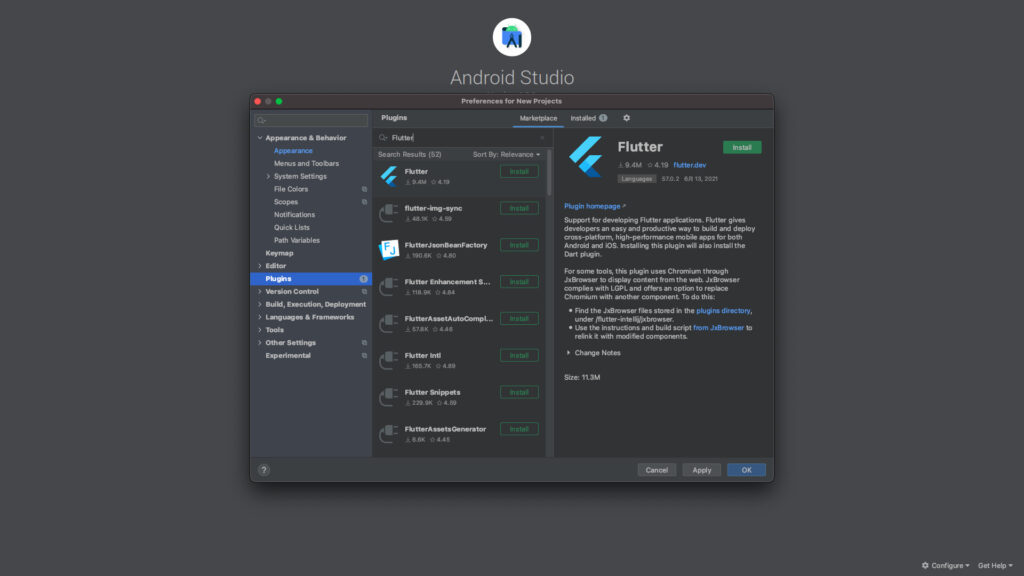
PluginsでFlutterを検索して下の画面で表示されているものをインストールします。
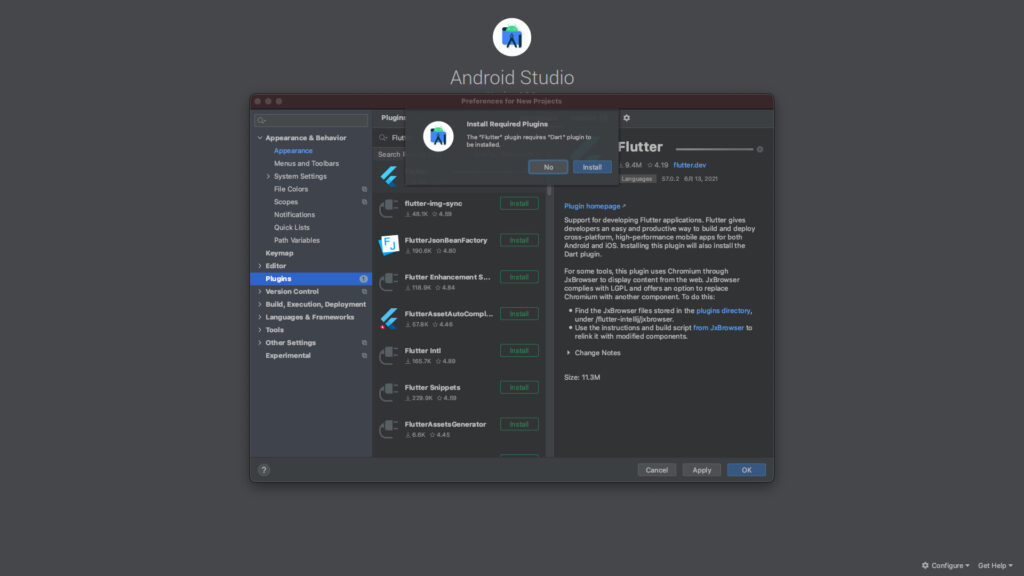
FlutterをインストールするとDartもインストールしますか?と聞かれるので一緒にインストールしてください!
インストールできたら、Restert(再起動)をしましょう!
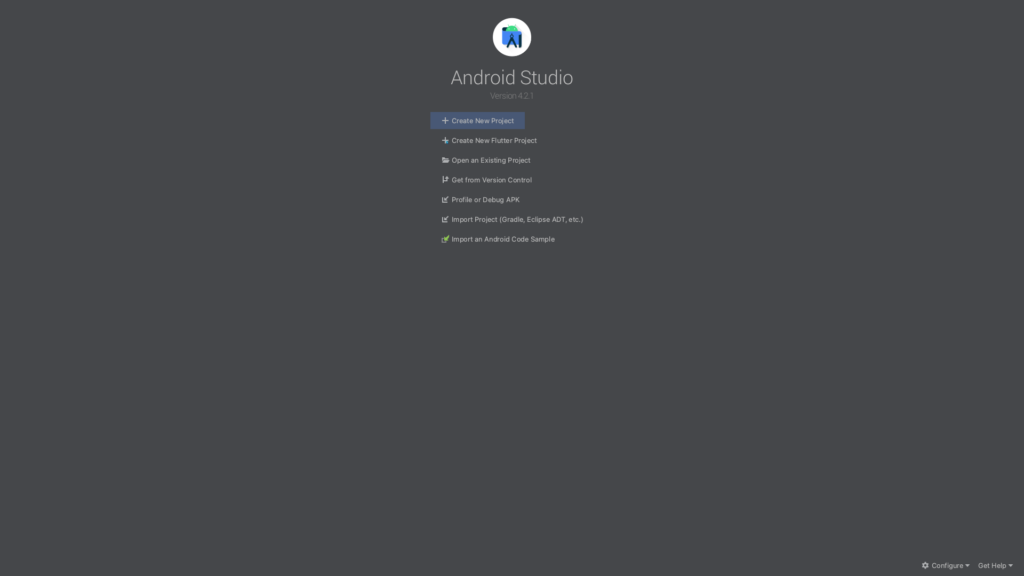
ここまでできたら、「Create New Flutter Project」が表示されると思います

Flutter Projectを作ってみよう!
では、実際にFlutter Projectを作ってみましょう!
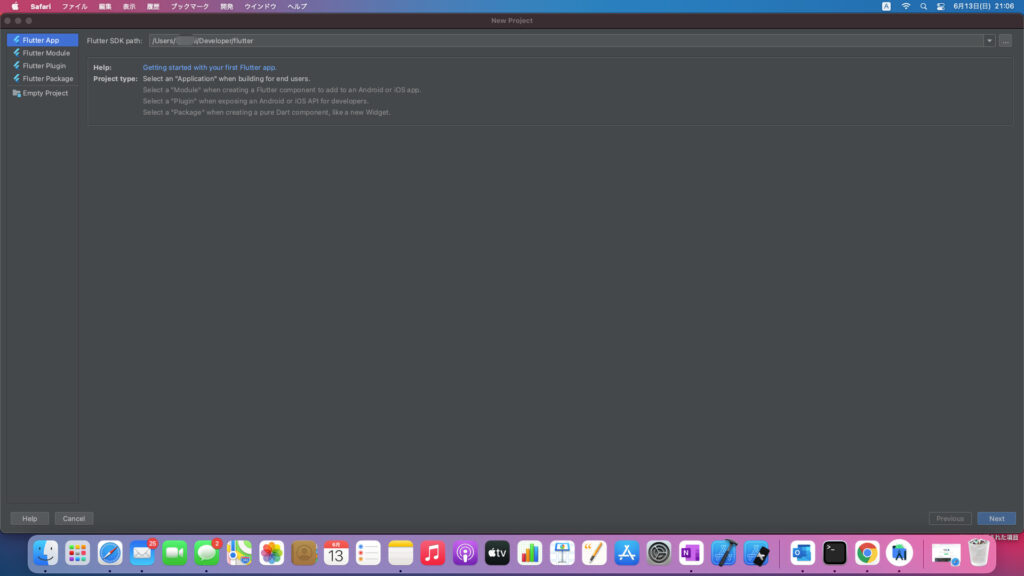
Create New Flutter Projectを選択します!
Flutter App を選択して、Flutter SDK pathが選択されていなければFlutterをインストールした場所を選択しておきましょう!
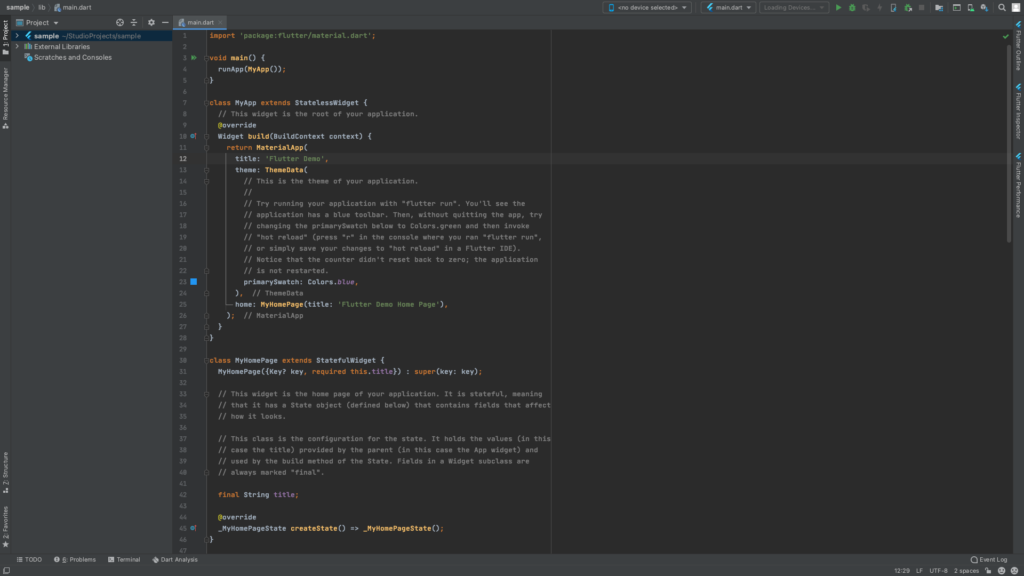
次の画面に関しては、下に表示の通りでnameなどは適当に変えてもらえればいいと思います。

ここまでできるとサンプルコードが書かれたものができていると思います。
エミュレータの起動をしよう!
せっかくなのでエミュレータを起動してみましょう!
画面右上のAVD Managerを選択してください!
下の画面が表示されていると思います。
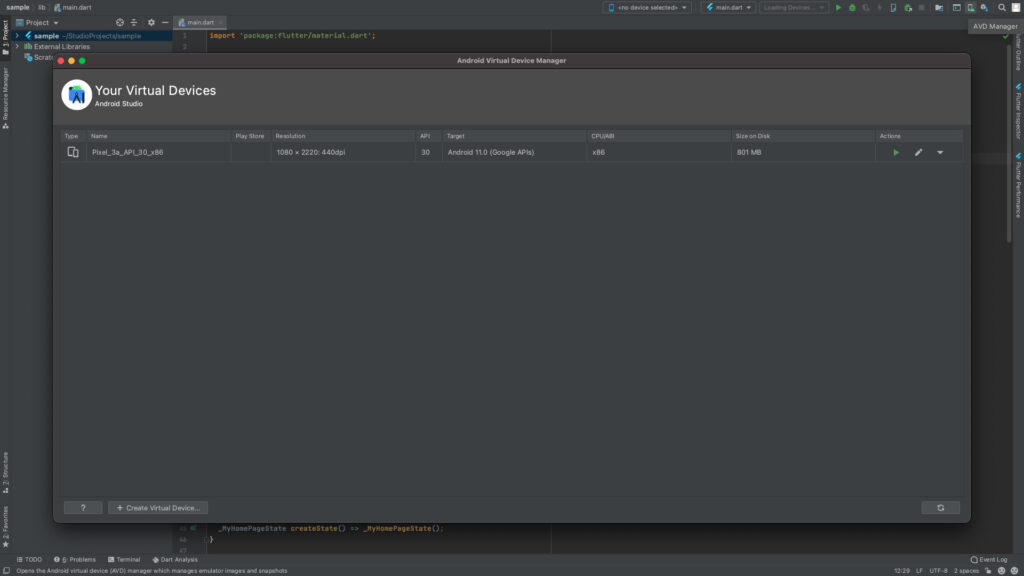
初期状態でもPixel_3aが入っているのですが、今回はせっかくなのでデバイスを追加します。
Create Virtual Deviceを選択してください。
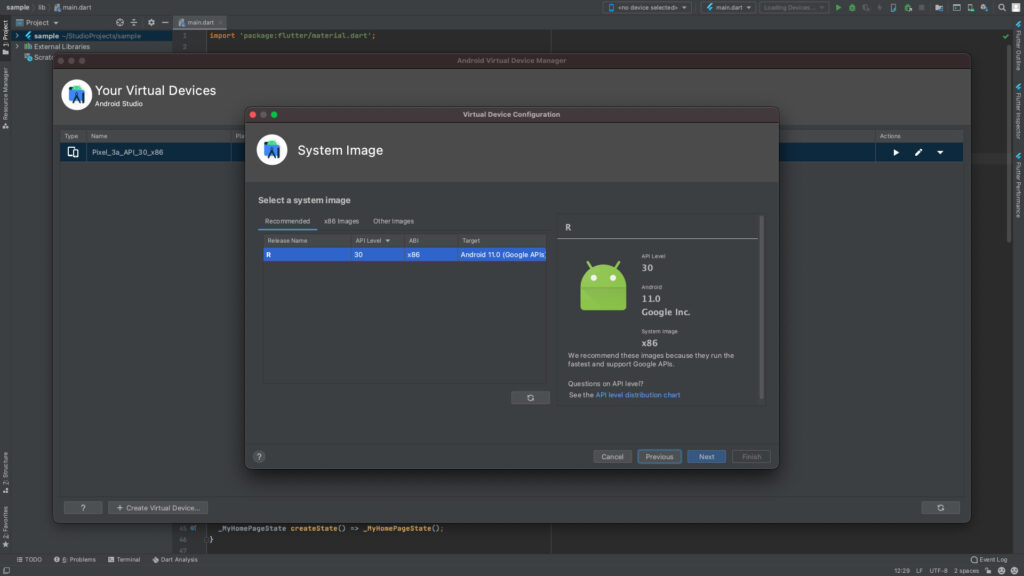
下のような画面が表示されたら、今回はPixel 4aを選択します。

Nextを選択したら、下の画面になるのでバージョンを選択してNextを選択します。
できたらYour Virtual DevicesにPixel 4aが追加されていると思います!
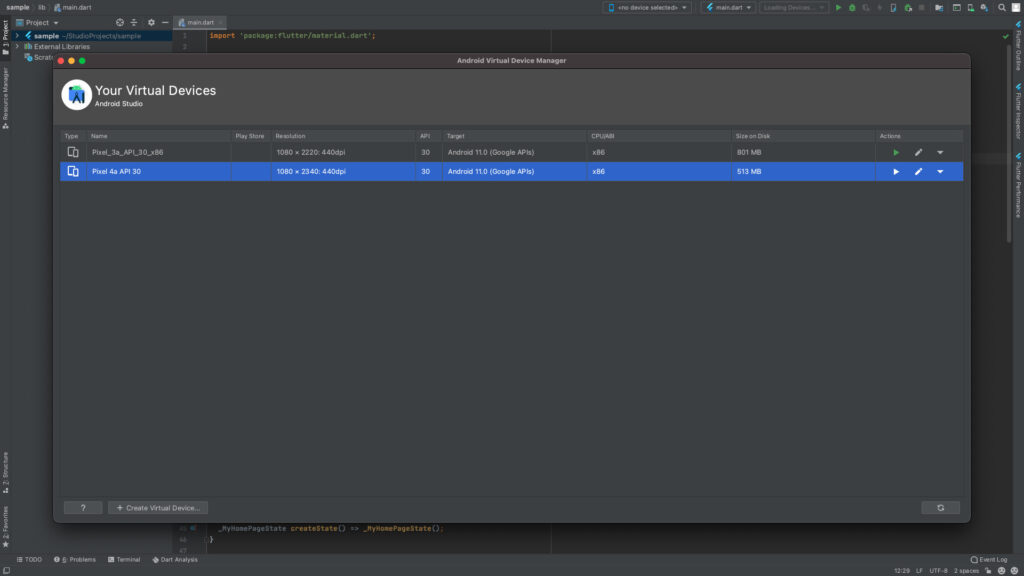
ここまでできたらActions>再生ボタンを押して実行してみましょう!
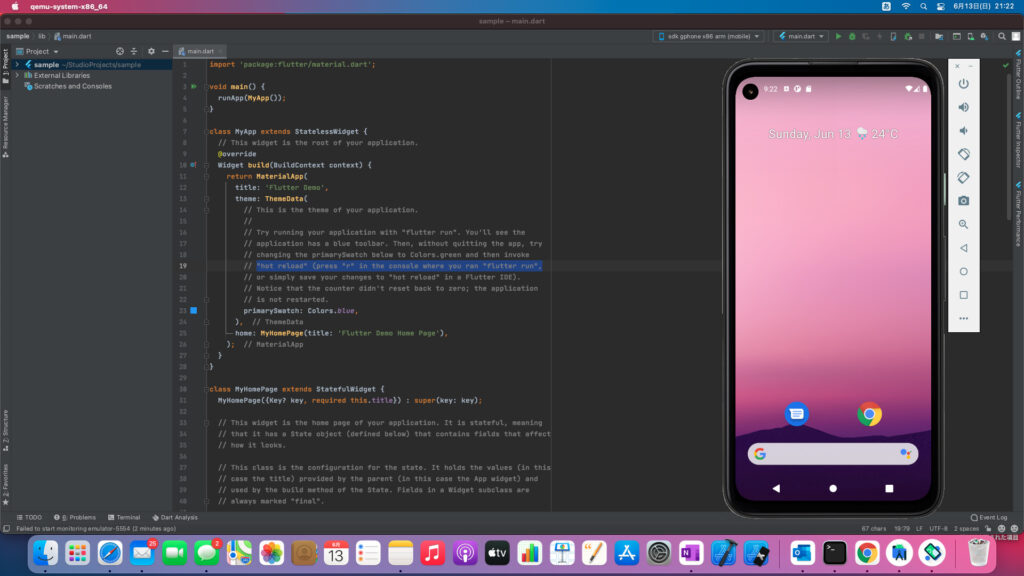
エミュレーターが起動できたと思います!
AVD Manager Unable to locate abd エラーになってしまう場合
File>Project Structure>Project SDKに「Android API ~」を選択してください!

サンプルコードを実行してみよう!
せっかくなので、サンプルコードをエミュレータで確認してみましょう!
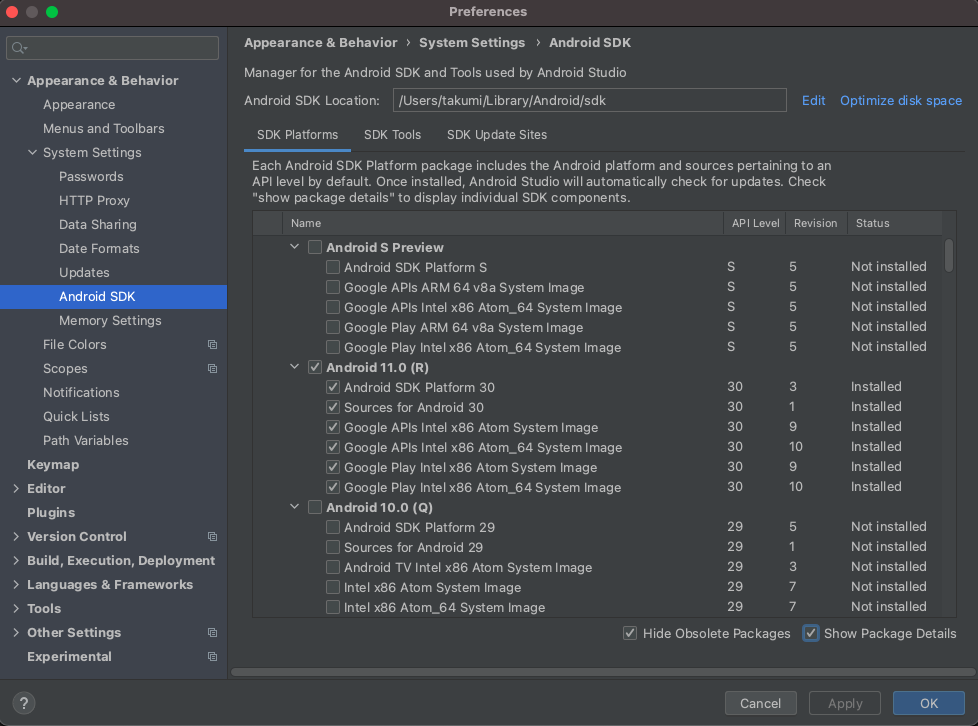
メニュー>Preferences >Appearance&Behavior>System Settings>Android SDKを選択します。
SDK PlatformsからAndroid 11.0 (R)でチェックが付いていないものをチェックしてOKを押しましょう!
インストールが始まると思いますので、完了するまでお待ちください。
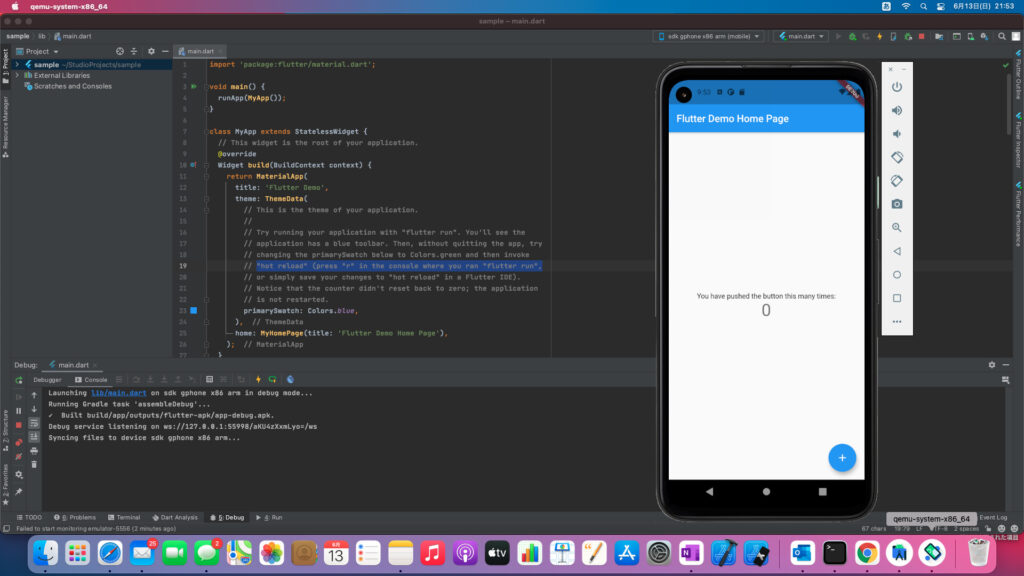
ここまでできたらエミュレータを起動して、デバッグボタンを選択することでサンプルコードを起動することができます!
(デバッグボタンは、右上のメニューの左から2番目の虫みたいなボタンです。)
iOS をセットアップしよう!
続いて、iOSをセットアップしていきます。
iOSは、Macでしかできないので注意しましょう!
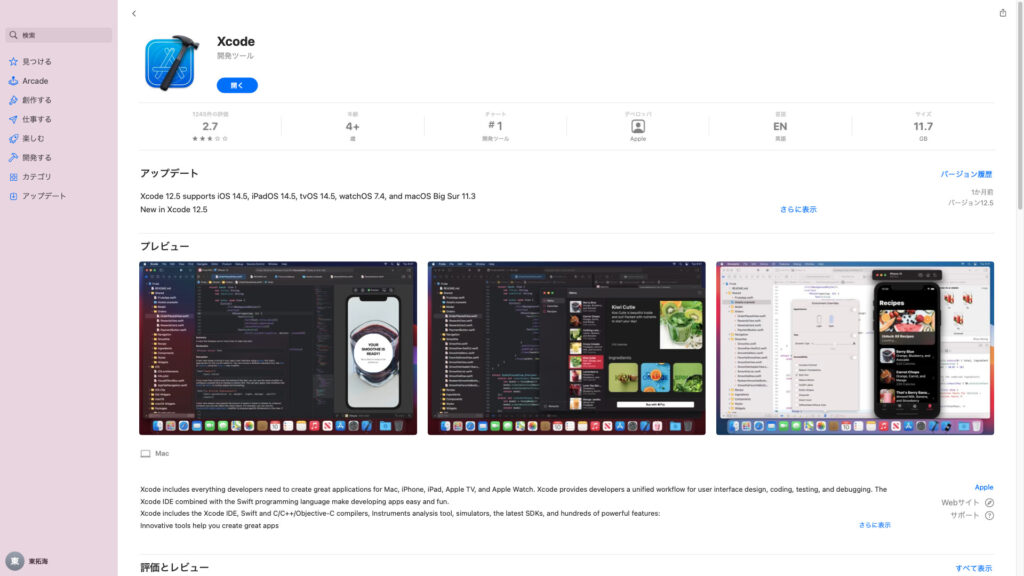
Xcodeをインストールする!
まず、Xcodeをインストールします。
Xcodeは、AppStoreからインストールが可能です。
シュミレータを起動してみる!
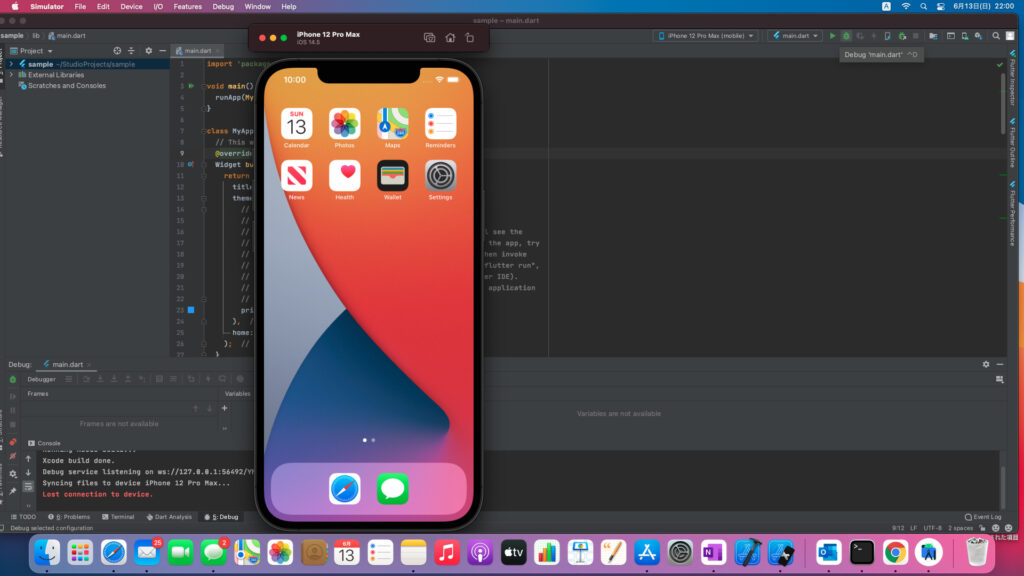
Xcodeをインストールできたら、AndroidStudioからiOSシュミレータを起動してみましょう!
Android Studio の右上のメニューの一番左のデバイスドロップボックスから、Open iOS Similatorを選択します!
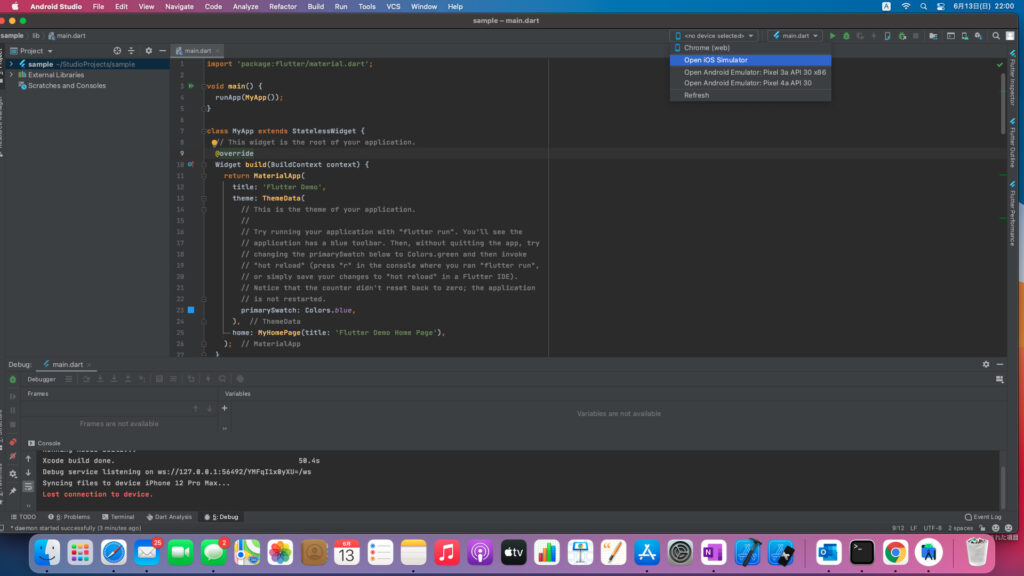
このようにiPhone 12 Pro Max(最新の機種が表示されるようです。)が表示されると思います。
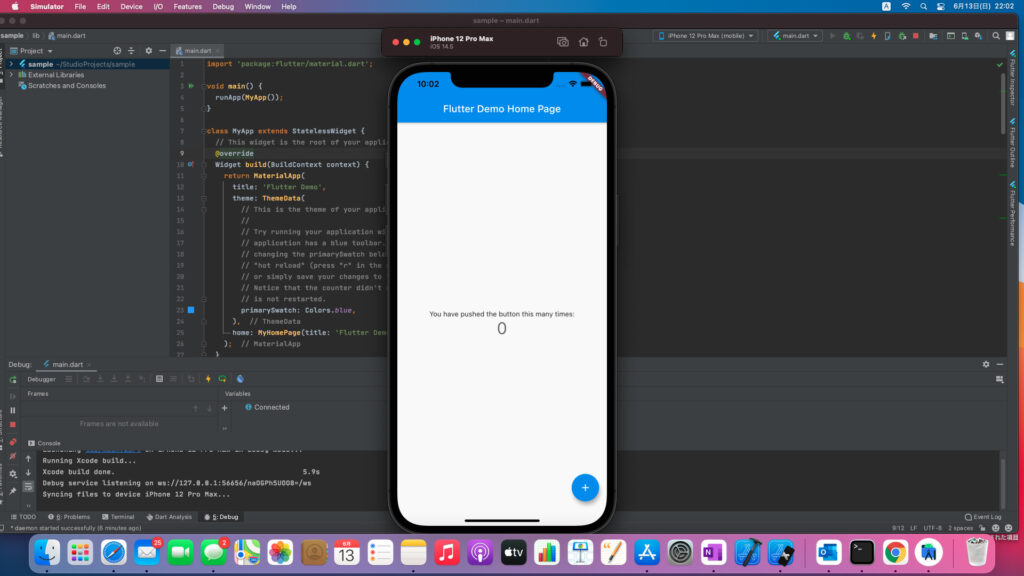
iOSでもサンプルコードを実行してみよう!
せっかくなのでiOSでもサンプルコードを実行しましょう。
こちらもiOS Similatorを表示して、デバッグボタンを選択するだけです!

これで、iOSでもサンプルコードが実行されたことを確認できたかと思います!
まとめ!
今回は、FlatterとDartの開発環境の構築をしていきました!
学習に使った本はこちら!
クマじいAmazon Kindle Unlimited でもFlutter、Dartの本はいっぱいあるぞ!
iOSとAndroidの両方に対応するクロスプラットフォームになっているのでぜひ参考にしてください!