
今回は、Vue.jsを使ってフロントエンド開発をするために、環境構築をしていこうと思います!!
簡単ですし、画像で解説しますので、ぜひ参考にしてみてください!
- Vue.jsに初めて触ってみる!
- Vue.jsを勉強したいが何から始めればいいかわからない!
- Vue.jsで簡単にフロントサイド開発を始めたい!
学習に使った本はこちら!
 クマじい
クマじいAmazon Kindle Unlimited でもVue.jsの本はいっぱいあるんじゃ!!
早速、開発環境を構築してみよう!
 クマじい
クマじいわしにも分かるように環境構築の手順を教えるのじゃぞ。
Vue.jsの環境構築は、難しくないので安心してください!!
node.jsをインストールしよう!
node.jsを使うわけではないのですが、node.jsに含まれる「npm(Node Package Manager)」というパッケージ管理ツールを使用します!
npmは、node.jsをインストールすると自動でインストールされますので、node.jsをインストールしていきます!
node.jsは、サーバサイドのJavaScriptフレームワークです!
興味があれば、こちらも解説してますので参考にしてみてください!
では、インストールしていきます!!
まずは、「node.jsの公式ページ」からnode.jsのインストーラをダウンロードしましょう!!
Windowsなら「Windows Installer」、Macなら「mocOS Installer」を選択してください!
![NODE.JS I
55>0—
Y: 14.15.4 (161418 npm 6.14.10)
Node.js (DV—ÄZI— FE9D>C]—
LTS
Windows Installer
nodeN14.IS.4-x64.msi
Windows Installer (.msi)
Windows Binary (zip)
macOS Installer (.pkg)
macOS Binary (.tar.gz)
Linux Binaries (x64)
Linux Binaries (ARM)
ntde
macOS Installer
node-v14.IS.4.pkg
32-bit
32-bit
ARMvr
64-bit
64.bit
64-bit
CERTIFICATION
Source Code
node-v14.15,4.tar.gz
64-bit
64-bit
ARMv8](https://teech-lab.com/wp-content/uploads/2021/02/image-13-1024x501.png)
- LTS版:Long Term Supportの略で、サポート期間が長い安定バージョン。
- 最新版:その名の通り最新バージョン。最新機能を使えたりする。
基本的には、LTS版をダウンロードしよう!!
次に、インストーラを起動して説明に従ってインストールしていきます!
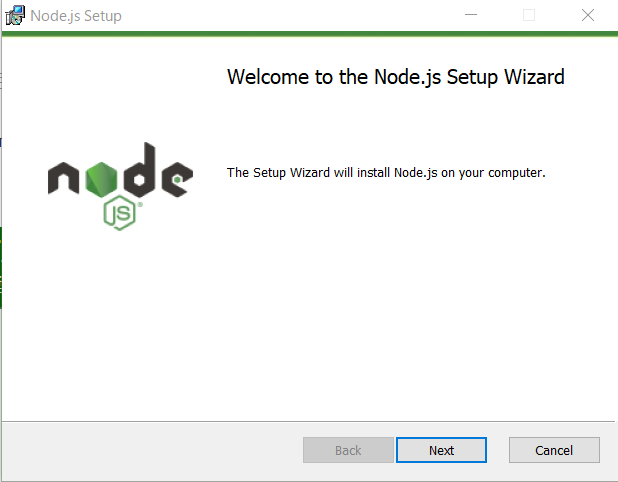
基本的には「Next」で進めていけば問題ありません!
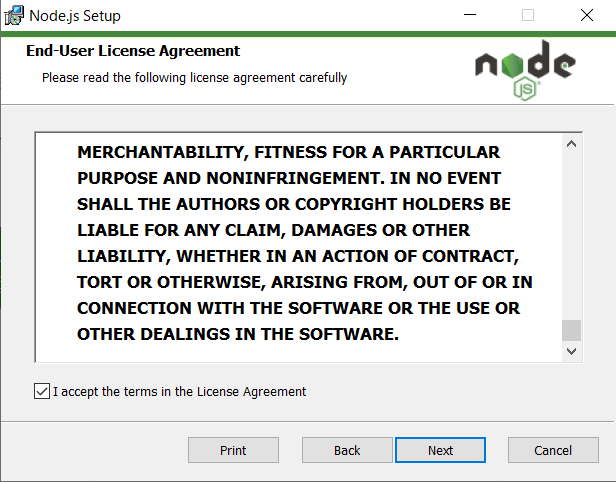
Licenseに同意できれば、チェックを入れて「Next」を選択してください!
(同意しないと進めないのですが、しっかり読んでおくべきだと思います!コピペでGoogle翻訳でOK!)
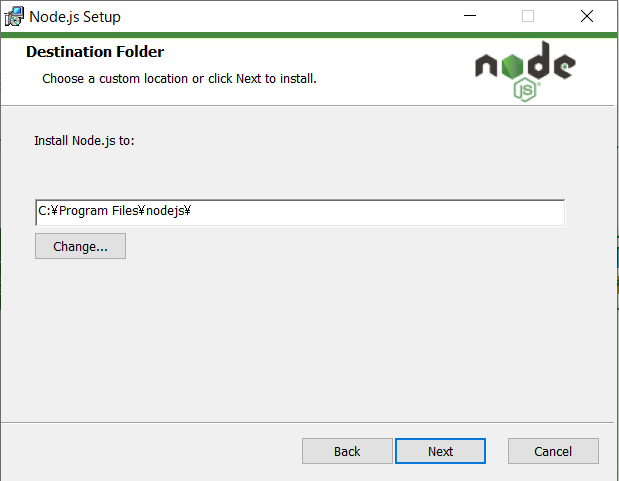
インストールするフォルダを選択します!
こちらに関しても、特に変更したいとかがなければ、このまま「Next」を選択しましょう!
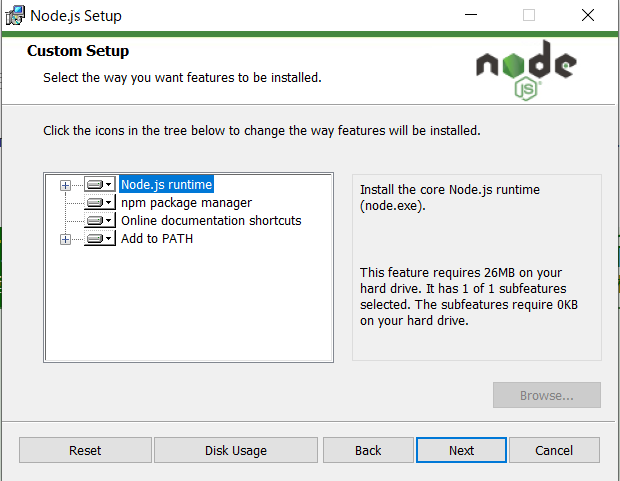
ここも「Next」で進みましょう!!
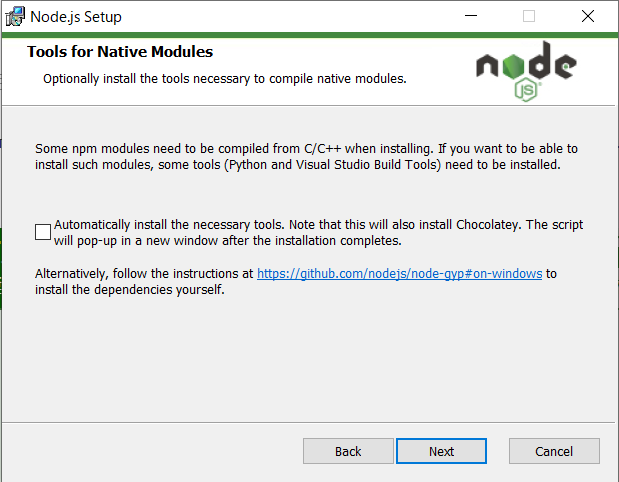
ここも基本的には、「Next」で問題ありません。
C++で拡張機能を作りたい!!という方は、チェックをつけてください。(ほぼ使用しないと思います!)
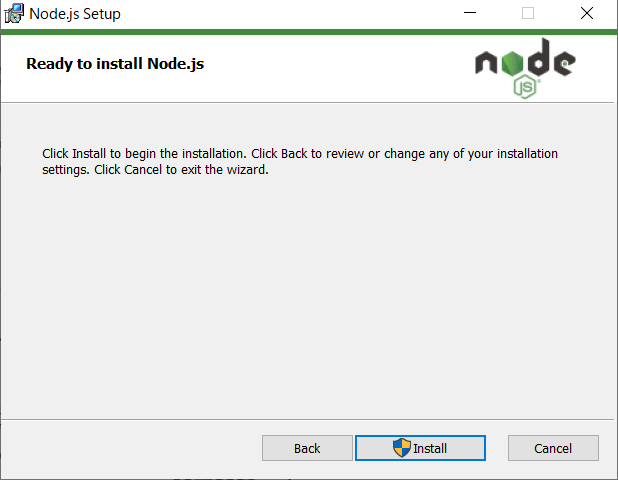
ここまで問題なければ、「Install」を選択しましょう!!
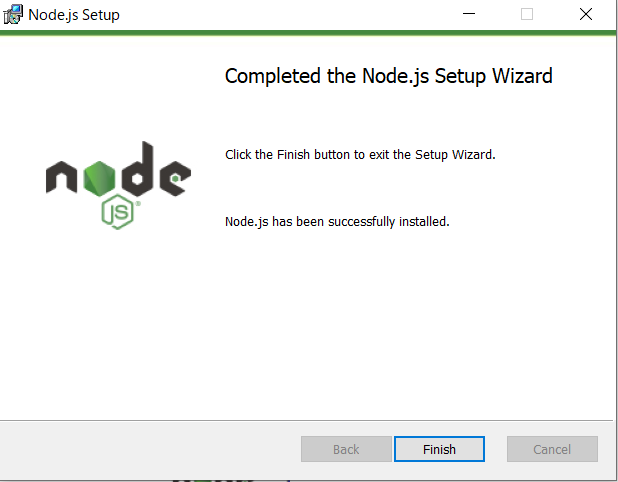
上の画面になればインストール完了です!
ちゃんとインストールできたか確認してみましょう!!
コマンドプロンプトで「node –version」or「node -v」を実行して、バージョン情報が表示されていれば問題ないです!
C:¥Users¥****>node --version
v14.15.4

C:¥Users¥****>node -v
v14.15.4
このように、nodeのバージョンが表示されたらインストールは完了です!
 クマじい
クマじいnodeのインストールは簡単じゃな!!
Vue.jsの開発環境を構築していこう!
やっとですね!Vue.jsの開発環境を構築します!!
先ほど、node.jsをインストールしたことにより、「npm」もインストールされているのでnpmを使っていきます!
もし、インストールされているか不安であれば、「npm –version」をコマンドプロンプトで実行してみてください!
バージョン情報が表示されていれば、問題なくダウンロードされてます!
C:\Users\*****\Documents\sample-react-app>npm -version
6.14.8特にこだわりがない方は、このようにしておけばいいと思います!
C:\Users\*****\Documents>mkdir sample-vue-app

C:\Users\*****\Documents>cd sample-vue-app
今後は、このディレクトリ配下で作業していきます!
Vueの開発環境を手早く進めるようVueCLI (Vue Command Line Interface)というツールが提供されています。
Vueプロジェクトの初期セットアップで導入する環境を簡単につくれるようしてくれます!
Vue CLIのインストールは、「npm install -g @vue/cli」をコマンドプロンプトで実行します!
C:\Users\*****\Documents\sample-vue-app>npm install -g @vue/cli

・・・

+ @vue/cli@4.5.11
added 359 packages from 168 contributors, removed 69 packages, updated 307 packages and moved 5 packages in 99.44s
色々、メッセージが出てくると思いますが、「vue –version」でバージョン情報が出てくればインストールはOKです!
C:\Users\*****\Documents\sample-vue-app>vue --version
@vue/cli 4.5.11
私の場合は、4.5.11 というバージョンになってます!
- Nuxt.js:Vueのオールインワンフレームワーク。
- Vue CLI:ツール、ライブラリ等の開発に必要な環境を簡単に構築するためのツール。
Nuxt.jsは、規約とかもしっかりしているので複数人で開発するときなどにオススメなのと、ルーティングを自動でしてくれるメリットもあります。自由度が低くカスタマイズしにくいのがデメリット。
あと、Nuxt.jsはVueの公式ではないです。
Vue CLIは、細かいカスタマイズも可能です。規約とかは、決めて作業をしてあげる必要があるので複数人で初めて作業するときは、少し不便かもしれません。
こちらは、Vue公式ですね!
その他細かい違いはありますが、環境構築を簡単にしてくれるものなので、どちらを選択してもいいと思います。
今回は、Vue CLIで構築していきます。
ここまできたら、あとはProjectを作成するだけです!!
Projectは、アプリの単位だと思っておけば問題ないと思います。
Vue CLIを使えば、簡単にProjectの雛形を作ることが出来ます!
まずは、「vue create [Project名]」をコマンドプロンプトで実行しましょう!
C:\Users\*****\Documents\sample-vue-app>vue create sample-client実行すると、選択肢が3つ出てくると思いますが、今回は、Default(Vue2)を選択します!
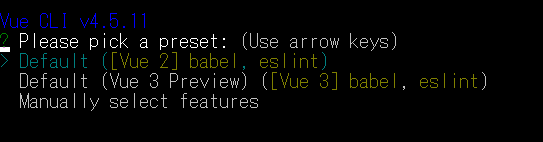
選択すると、作成が始まっていきます!!
色々、メッセージが流れていきますが、「Successfully created project [project名]」が出ていれば完了です!
・・・
Successfully created project sample-client.
Get started with the following commands:

 $ cd sample-client
$ npm run serve先ほど作成した雛形プロジェクトに移動して、アプリを起動してみましょう!
雛形プロジェクトを作成した際のメッセージの最後に、このようなメッセージがあったと思います。
 $ cd sample-client
 $ npm run serve
この通りにコマンドプロンプトで実行したらアプリが起動できます!
コマンドプロンプトで実行すると、こんな感じです!
C:\Users\*****\Documents\sample-vue-app>cd sample-client

C:\Users\*****\Documents\sample-vue-app\sample-client>npm run serve

> sample-client@0.1.0 serve C:\Users\*****\Documents\sample-vue-app\sample-client
> vue-cli-service serve

 INFO  Starting development server...
98% after emitting CopyPlugin

 DONE  Compiled successfully in 3577ms                                                                                                                                                1:33:36


  App running at:
  - Local:   http://localhost:8080/
  - Network: http://192.168.0.105:8080/

  Note that the development build is not optimized.
To create a production build, run npm run build.ここまでできたら、「http://localhost:8080/」にアクセスしてみましょう!!
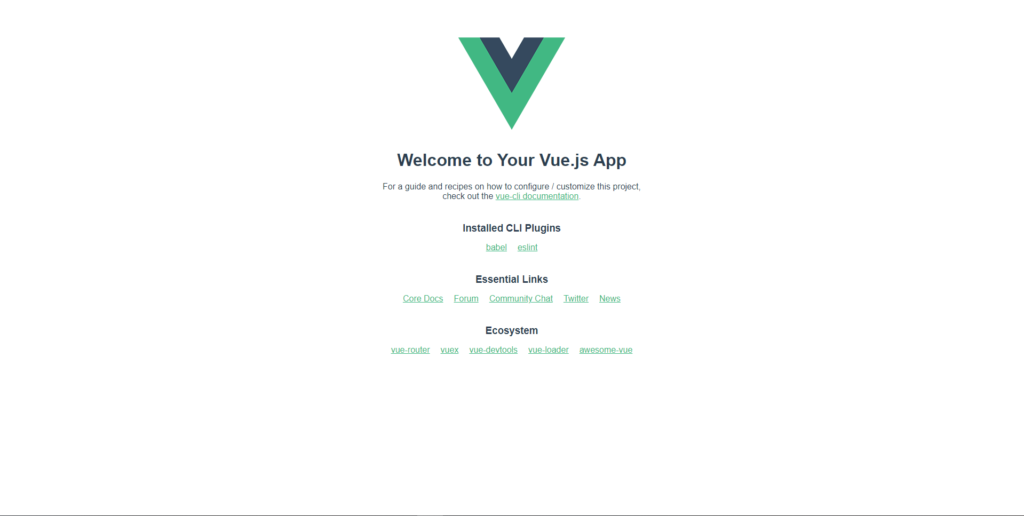
この画面が表示されれば、環境構築は完了です!!
 クマじい
クマじいわしにもできたぞ〜!!
まとめ
今回は、Vueでフロントエンド開発をするための環境構築をしていきました!!
コマンドが多くて少し難しいと思った方もいると思いますが、数個のコマンドを実行するだけで雛形が作成できるので何とかできたのではないでしょうか!
次回以降は、メモアプリを作っていきながら説明をしていこうと思います!
学習に使った本はこちら!
クマじいAmazon Kindle Unlimited でもVue.jsの本はいっぱいあるんじゃ!!