今回は、FlutterとDartでAppbarを使っていこうと思います。
アプリのヘッダーを作りたい方などはAppbarが必須かなと思いますのでぜひ参考にしてみてください!
学習に使った本はこちら!
 クマじい
クマじいAmazon Kindle Unlimited でもFlutter、Dartの本はいっぱいあるぞ!
もし、まだFlutterとDartの環境構築をしていない方やシュミレータの起動方法がわからない方は、
「FlutterとDartの開発環境構築をしよう!」を参考にしてみてください!
今回やること!
Basicsで紹介されている初めてFlutterアプリを作る前に絶対に知っておきたいWidgetの内、Appbarを実際に実装して紹介していきます。
最終的には、Twitterっぽいヘッダーを作ってみようと思います。
Twitterっぽいヘッダーを作る際にタブなどを利用しますが、説明は省かせてもらいます。
Appbarの使い方を紹介!
では実際に、Appbarの使い方を説明していきます!
Appbarを使ってみる!
では、早速Appbarを実装してみましょう!
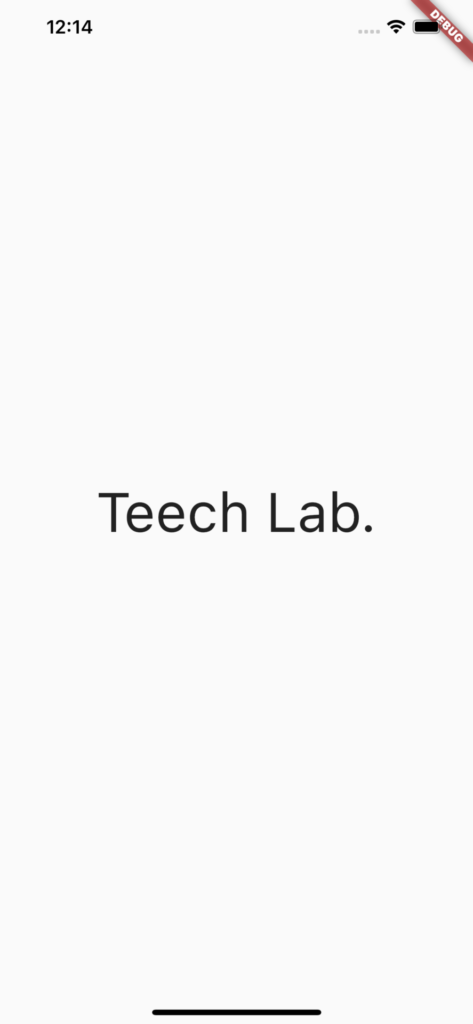
Appbarを実装する前は、こんな感じにしておきます!
import 'package:flutter/material.dart';

void main() {
  runApp(MyApp());
}

class MyApp extends StatelessWidget {
  // This widget is the root of your application.
  @override
  Widget build(BuildContext context) {
    return MaterialApp(
      title: 'Flutter Demo',
      theme: ThemeData(
        primarySwatch: Colors.blue,
      ),
      home: MyHomePage(title: 'Flutter Demo Home Page'),
    );
  }
}

class MyHomePage extends StatefulWidget {
  MyHomePage({Key? key, required this.title}) : super(key: key);
  final String title;

  @override
  _MyHomePageState createState() => _MyHomePageState();
}

class _MyHomePageState extends State<MyHomePage> {

  @override
  Widget build(BuildContext context) {
    return Scaffold(
      body: Center(
        child: Text(
          'Teech Lab.',
          style: TextStyle(fontSize: 50),
        ),
      ),
    );
  }
}
ここにAppbarを実装してみます!
import 'package:flutter/material.dart';
void main() {
runApp(MyApp());
}
class MyApp extends StatelessWidget {
// This widget is the root of your application.
@override
Widget build(BuildContext context) {
return MaterialApp(
title: 'Flutter Demo',
theme: ThemeData(
primarySwatch: Colors.blue,
),
home: MyHomePage(title: 'Flutter Demo Home Page'),
);
}
}
class MyHomePage extends StatefulWidget {
MyHomePage({Key? key, required this.title}) : super(key: key);
final String title;
@override
_MyHomePageState createState() => _MyHomePageState();
}
class _MyHomePageState extends State<MyHomePage> {
@override
Widget build(BuildContext context) {
return Scaffold(
appBar: AppBar(
title: const Text('Teech Lab.'),
),
body: Center(
child: Text(
'Teech Lab.',
style: TextStyle(fontSize: 50),
),
),
);
}
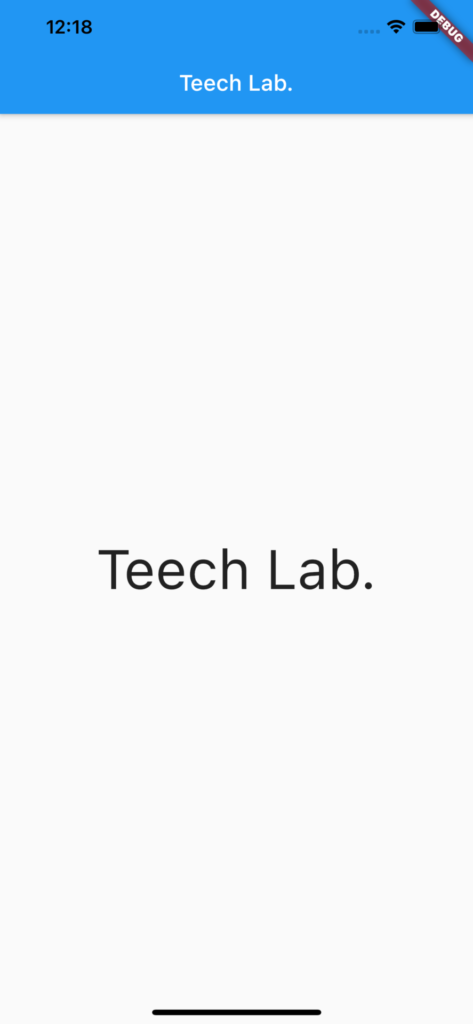
}実行するとこんな感じで、上部にバーが表示されたと思います。
Appbarにアイコンボタンを表示してみる!
続いては、先ほど実装したAppbarにアイコンボタンを表示してみようと思います!
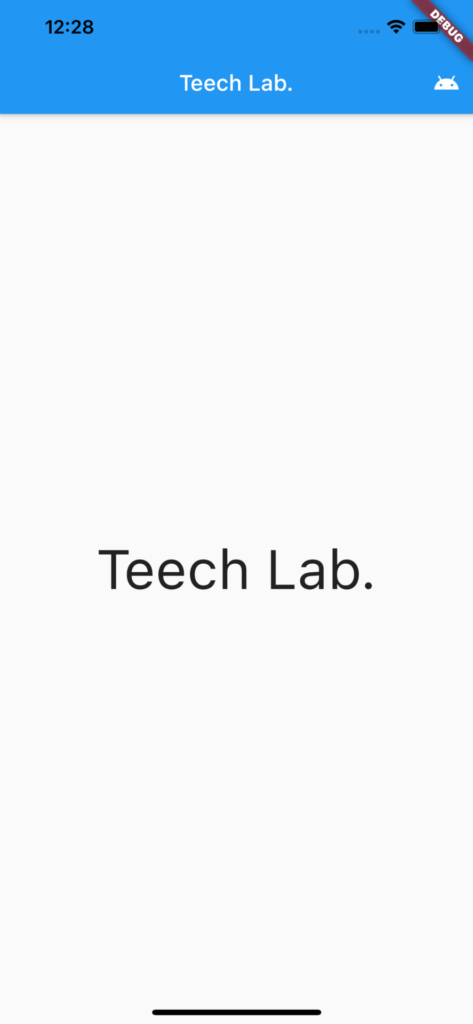
今回はアンドロイド(Icons.android_outlined)を表示してみました。。。笑
import 'package:flutter/material.dart';

void main() {
  runApp(MyApp());
}

class MyApp extends StatelessWidget {
  // This widget is the root of your application.
  @override
  Widget build(BuildContext context) {
    return MaterialApp(
      title: 'Flutter Demo',
      theme: ThemeData(
        primarySwatch: Colors.blue,
      ),
      home: MyHomePage(title: 'Flutter Demo Home Page'),
    );
  }
}

class MyHomePage extends StatefulWidget {
  MyHomePage({Key? key, required this.title}) : super(key: key);
  final String title;

  @override
  _MyHomePageState createState() => _MyHomePageState();
}

class _MyHomePageState extends State<MyHomePage> {

  @override
  Widget build(BuildContext context) {
    return Scaffold(
      appBar: AppBar(
        title: const Text('Teech Lab.'),
        actions: <Widget>[
          IconButton(
            icon: const Icon(Icons.android_outlined),
            onPressed: () {
            },
          )
        ]
      ),
      body: Center(
        child: Text(
          'Teech Lab.',
          style: TextStyle(fontSize: 50),
        ),
      ),
    );
  }
}
どうでしょうか、アンドロイドがのぞいていますね。
こんな感じでIconButtonなどをおくことで、ホームボタンやメニューボタンを設定することができます!
Twitterっぽいヘッダーを作ってみる!
それではAppbarにIconButtonを表示して、Twitter風のヘッダーを作ってみましょう!
FlutterのAppbarは、下記の図のように設定することができます。
どこに何を配置するか意識するだけで、ある程度形になるので便利ですね。
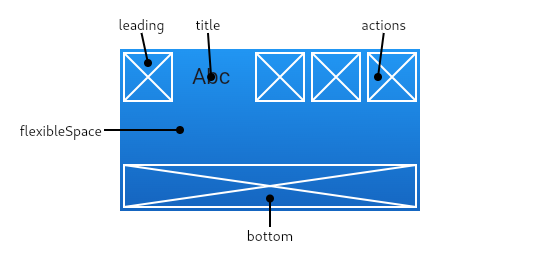
今回はTwitterっぽいヘッダーにするために、以下の通りに設定します。
- leadingにメニューアイコンを設定
- actionsにキラキラアイコンを設定
- bottomにタブとテキストを設定
- 背景色は白、ボタンやテキストはライトブルーに設定
実装は、こんな感じになります。
buttomにタブを使う場合、タブコントローラー(今回は、DefaultTabController)が必要になりますので注意してください。
import 'package:flutter/material.dart';
void main() {
runApp(MyApp());
}
class MyApp extends StatelessWidget {
// This widget is the root of your application.
@override
Widget build(BuildContext context) {
return MaterialApp(
title: 'Flutter Demo',
theme: ThemeData(
primarySwatch: Colors.blue,
),
home: MyHomePage(title: 'Flutter Demo Home Page'),
);
}
}
class MyHomePage extends StatefulWidget {
MyHomePage({Key? key, required this.title}) : super(key: key);
final String title;
@override
_MyHomePageState createState() => _MyHomePageState();
}
class _MyHomePageState extends State<MyHomePage> {
@override
Widget build(BuildContext context) {
return DefaultTabController(
length: 2,
child: Scaffold(
appBar: AppBar(
leading: IconButton(
icon: const Icon(Icons.menu),
color: Colors.lightBlue,
onPressed: () {
},
),
title: const Text(
'Teech Lab.',
style: TextStyle(
color: Colors.lightBlue
),
),
actions: <Widget>[
IconButton(
icon: const Icon(Icons.star),
color: Colors.lightBlue,
onPressed: () {
},
)
],
bottom: const TabBar(
labelColor: Colors.lightBlue,
unselectedLabelColor: Colors.grey,
tabs: <Tab>[
Tab(text: 'Home'),
Tab(text: 'teech lab.')
],
),
backgroundColor: Colors.white,
),
body: Center(
child: Text(
'Teech Lab.',
style: TextStyle(fontSize: 50),
),
),
),
);
}
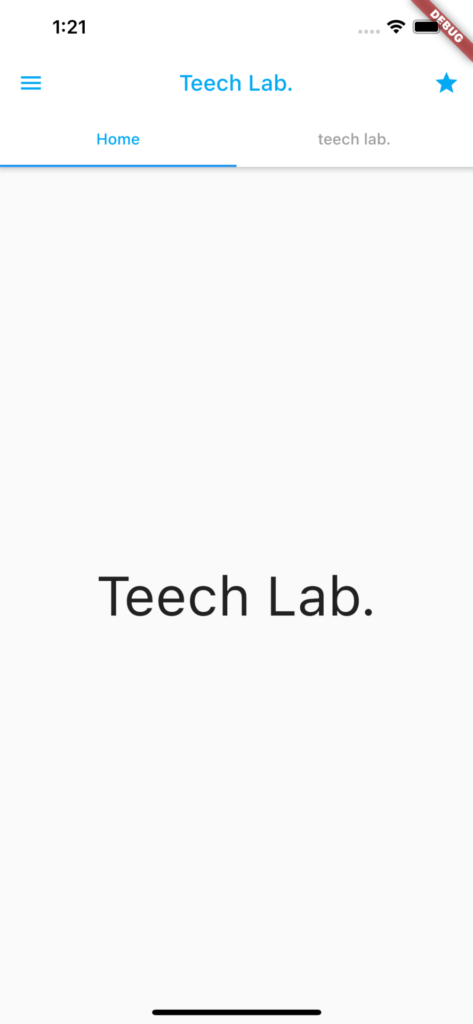
}実行するとこんな感じです!
キラキラに違和感がありますが、ある程度の再現はできたのではないでしょうか笑
まとめ
今回は、タブやアイコンボックスについては詳しく説明していませんので、各自で調べてみてください。
学習に使った本はこちら!
クマじいAmazon Kindle Unlimited でもFlutter、Dartの本はいっぱいあるぞ!
Appbarを使うことで簡単にHeaderを作ることができるので、ぜひ参考にしてみてください!
クマじい参考にしてくれると嬉しいぞ!